CRAFTSMANSHIP
Komatsuya Shamisen Manufacturing - Craftsmanship. Here is the manufacturing process in sequence.

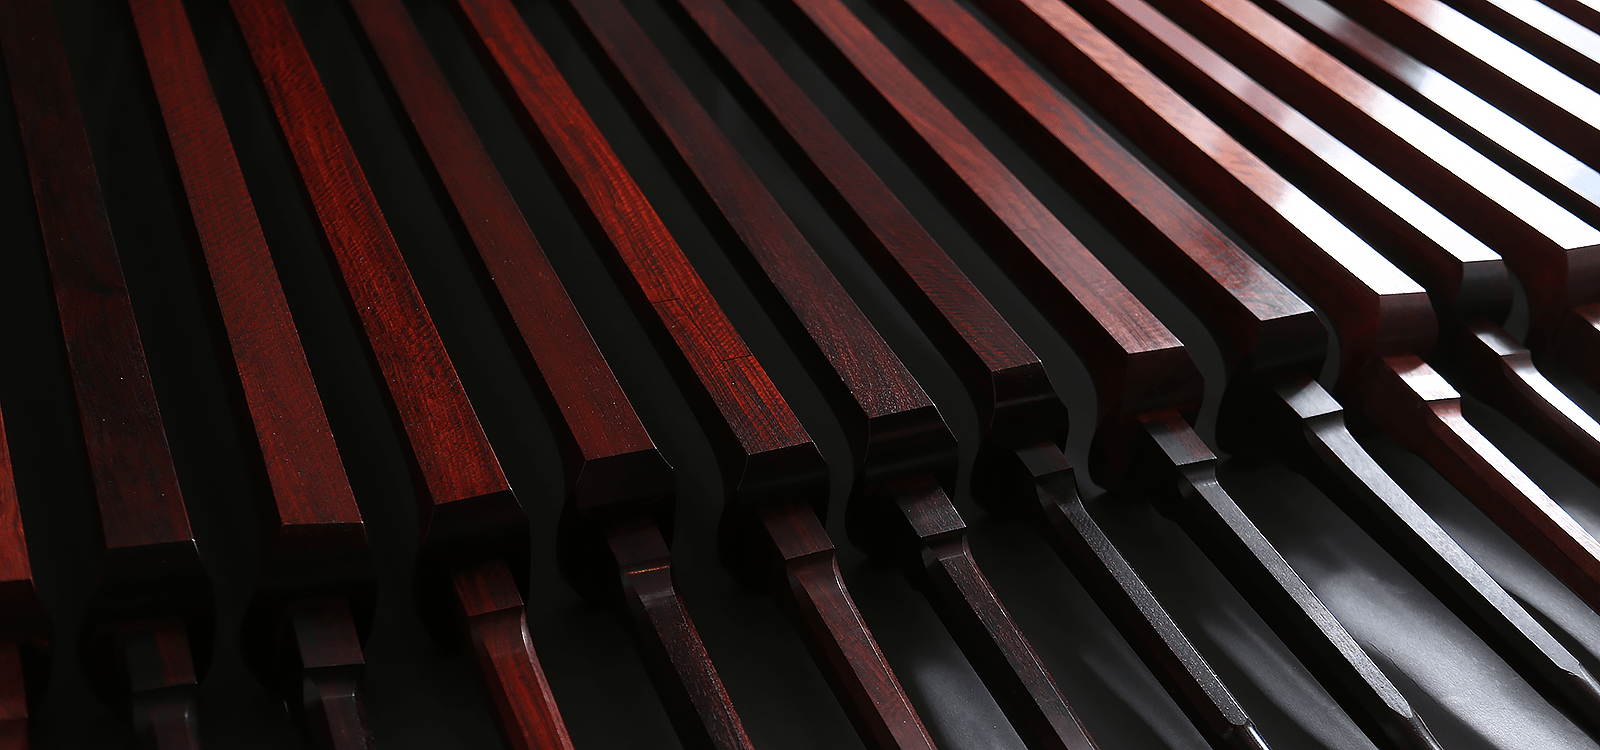
Step1. Shamisen neck - Careful selection of “Araki” raw wood
Raw wood for the shamisen is called “Araki”. Select one piece of the Araki suitable for the customer’s shamisen. The wood is carefully selected with the experienced eyes that have seen ten thousands pieces of Araki over a long period of time.
1/19
Step2. Shamisen neck - Three-piece split Araki
In order to form an original shape of a three-piece neck shamisen, split the Araki into three pieces.
2/19
Step3. Shamisen neck - Inserting gold tenons
Insert gold fittings into tenons in the neck of a high class shamisen.
3/19
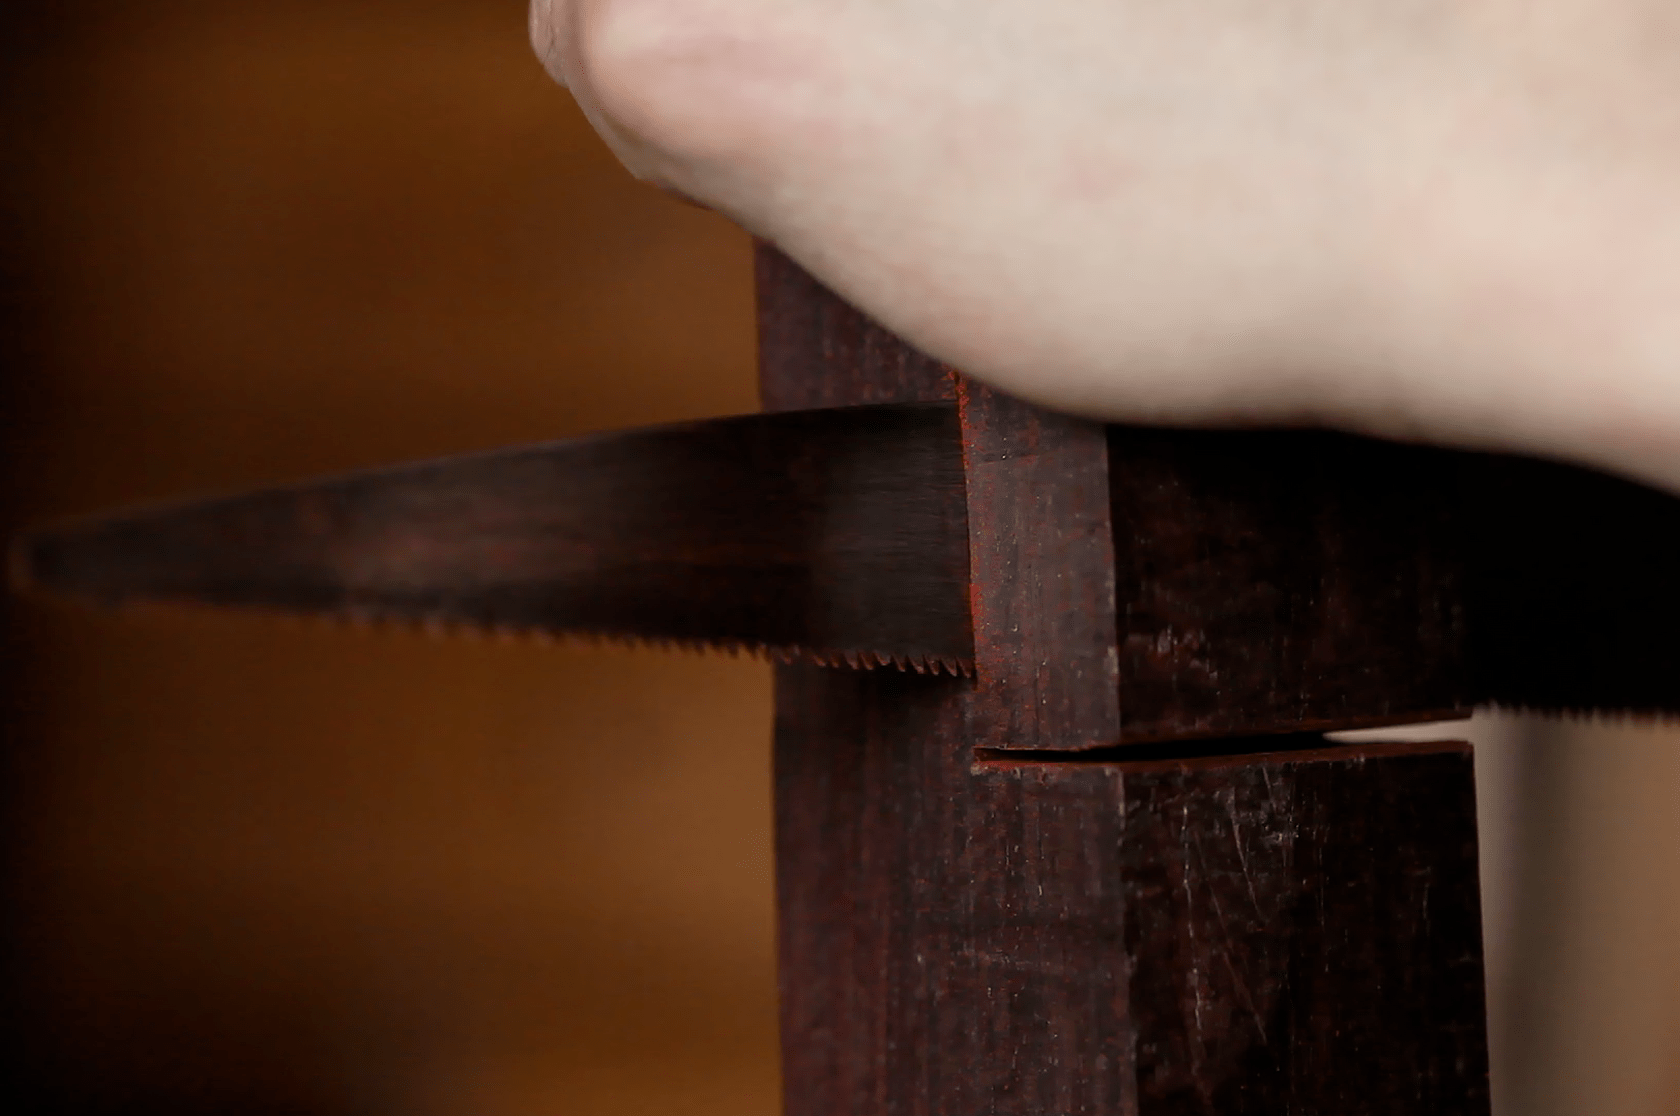
Step4. Shamisen neck - Rounding (planing)
Plane the sides and back of the neck to form the rounding of the shamisen.
4/19
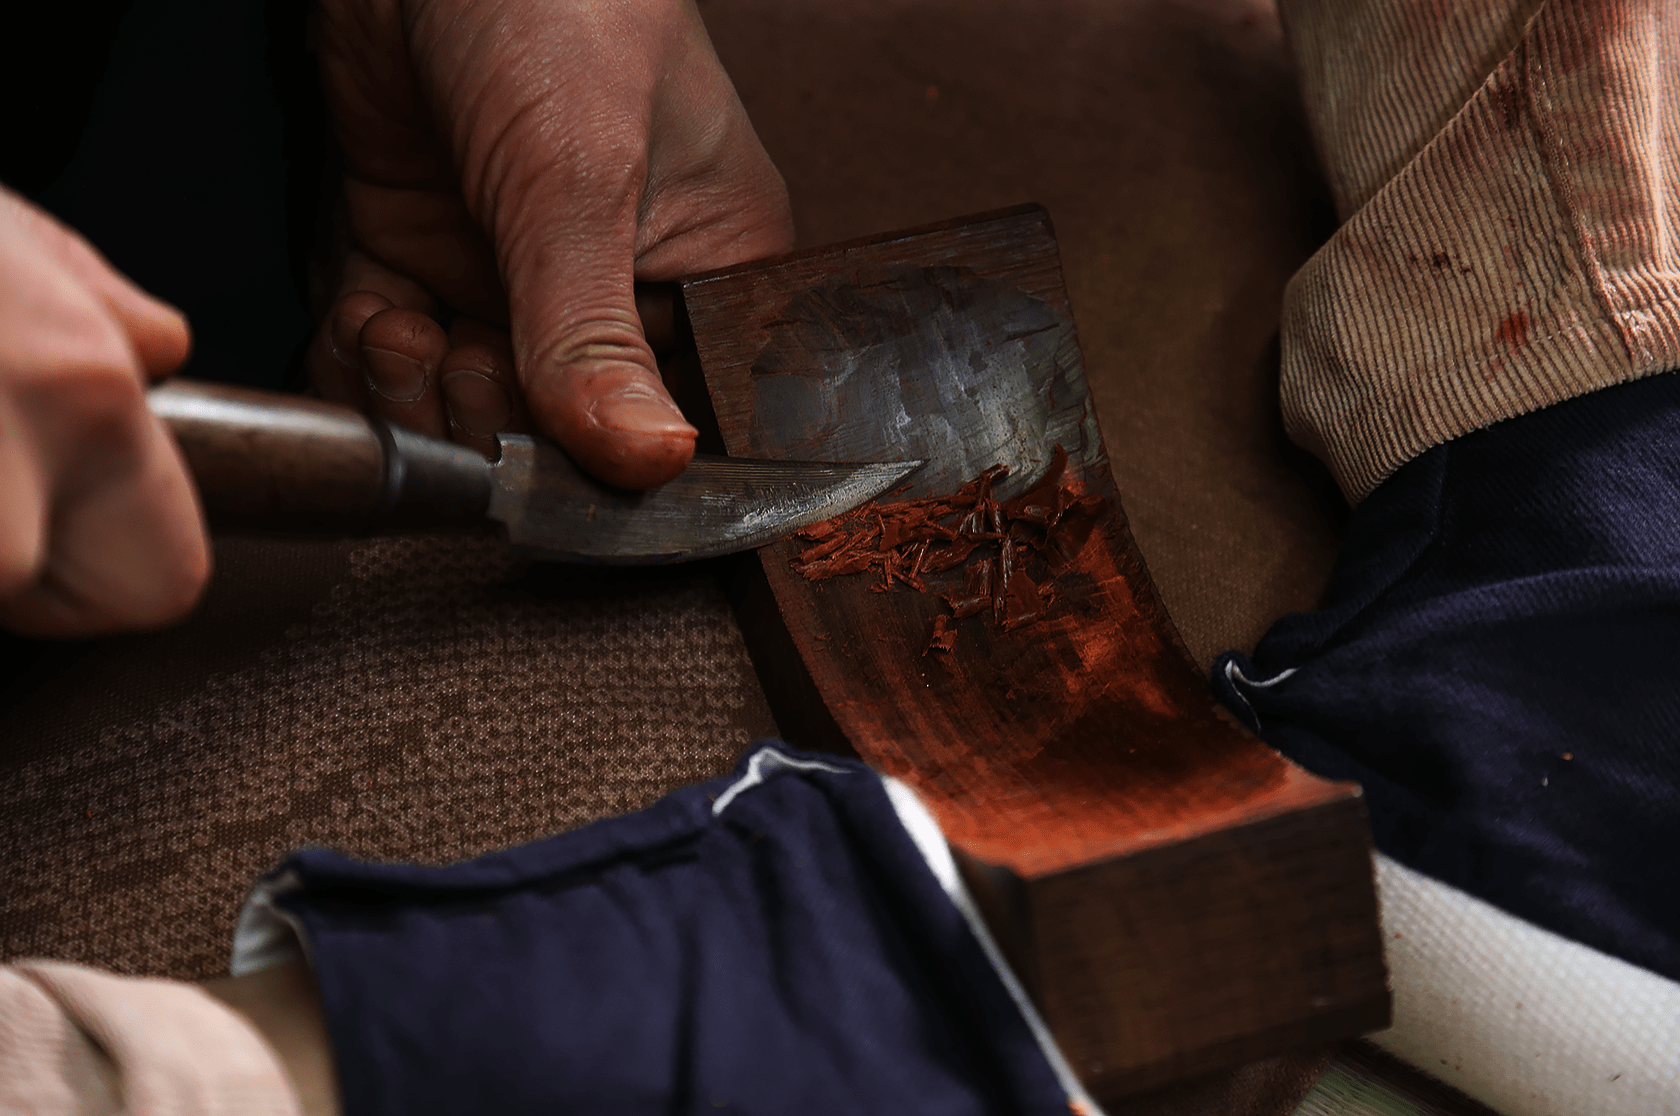
Step5. Shamisen neck - “Tenjin” scraping
Scrape off the back of a head (“Tenjin”) with a tool called “Namazuri” and make a round (curve) shape on the back of the Tenjin. This work is so difficult in manual operations that only skilled shamisen craftsmen can do.
5/19
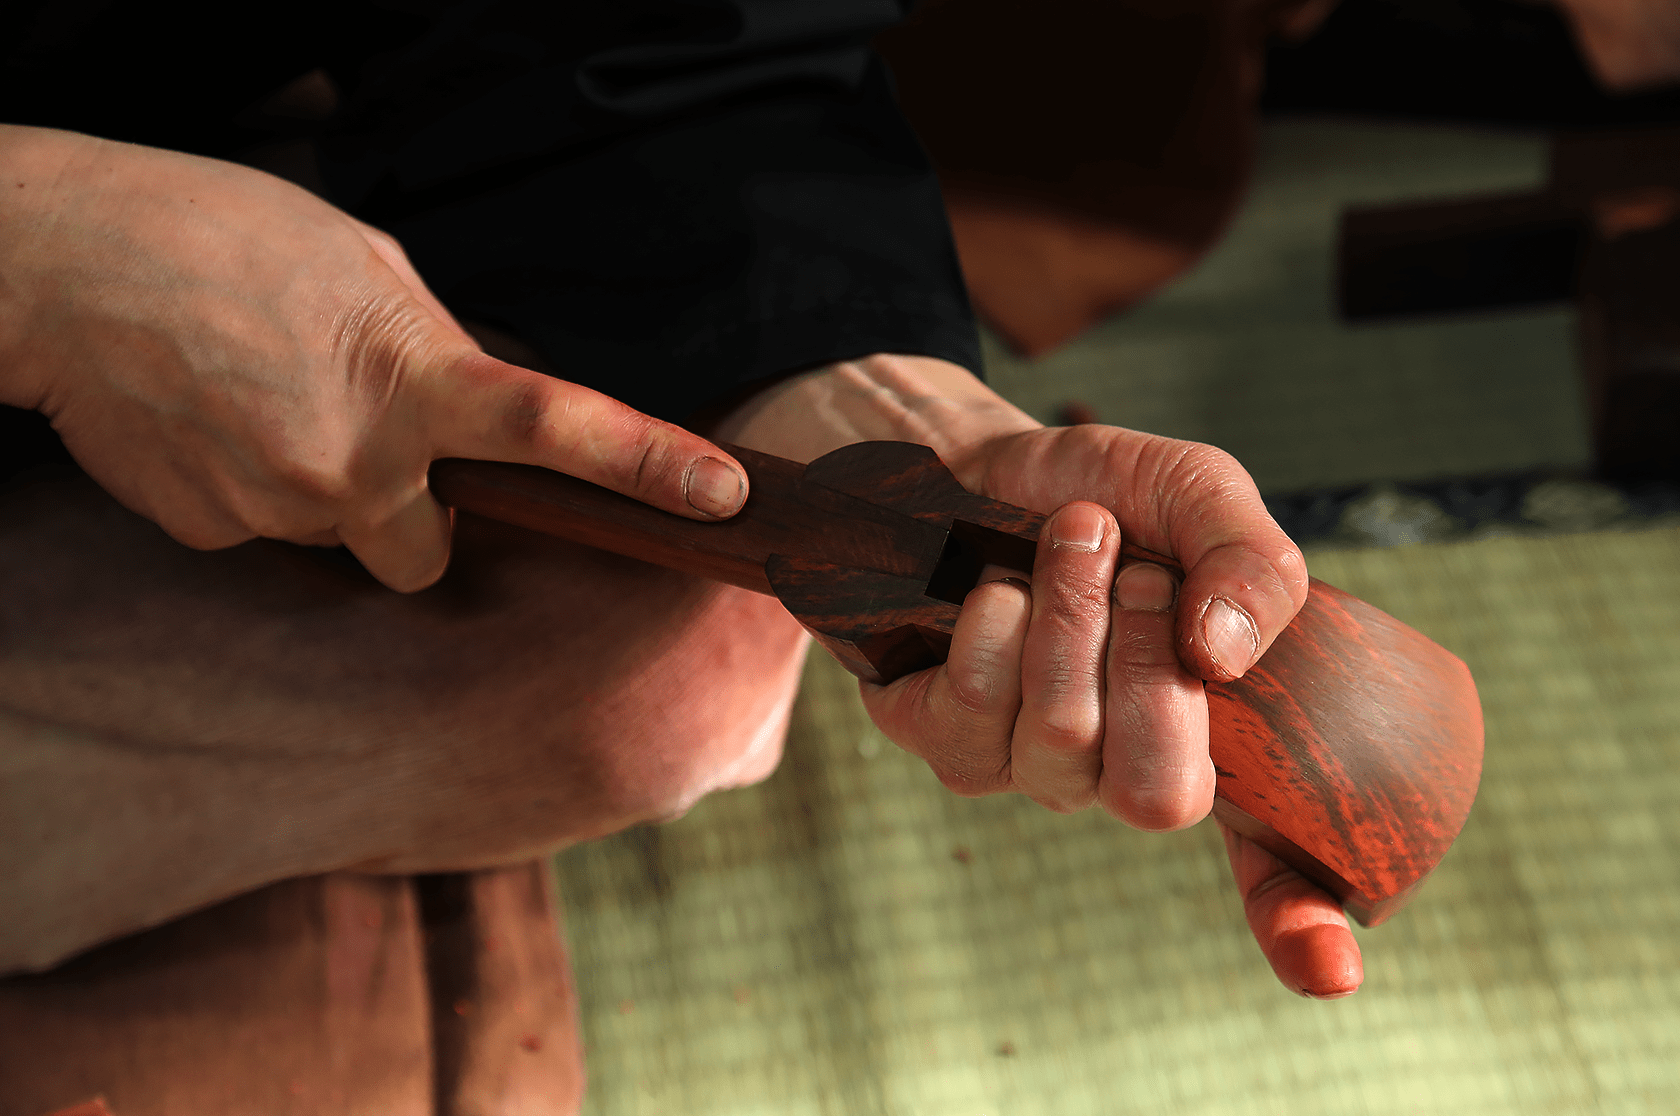
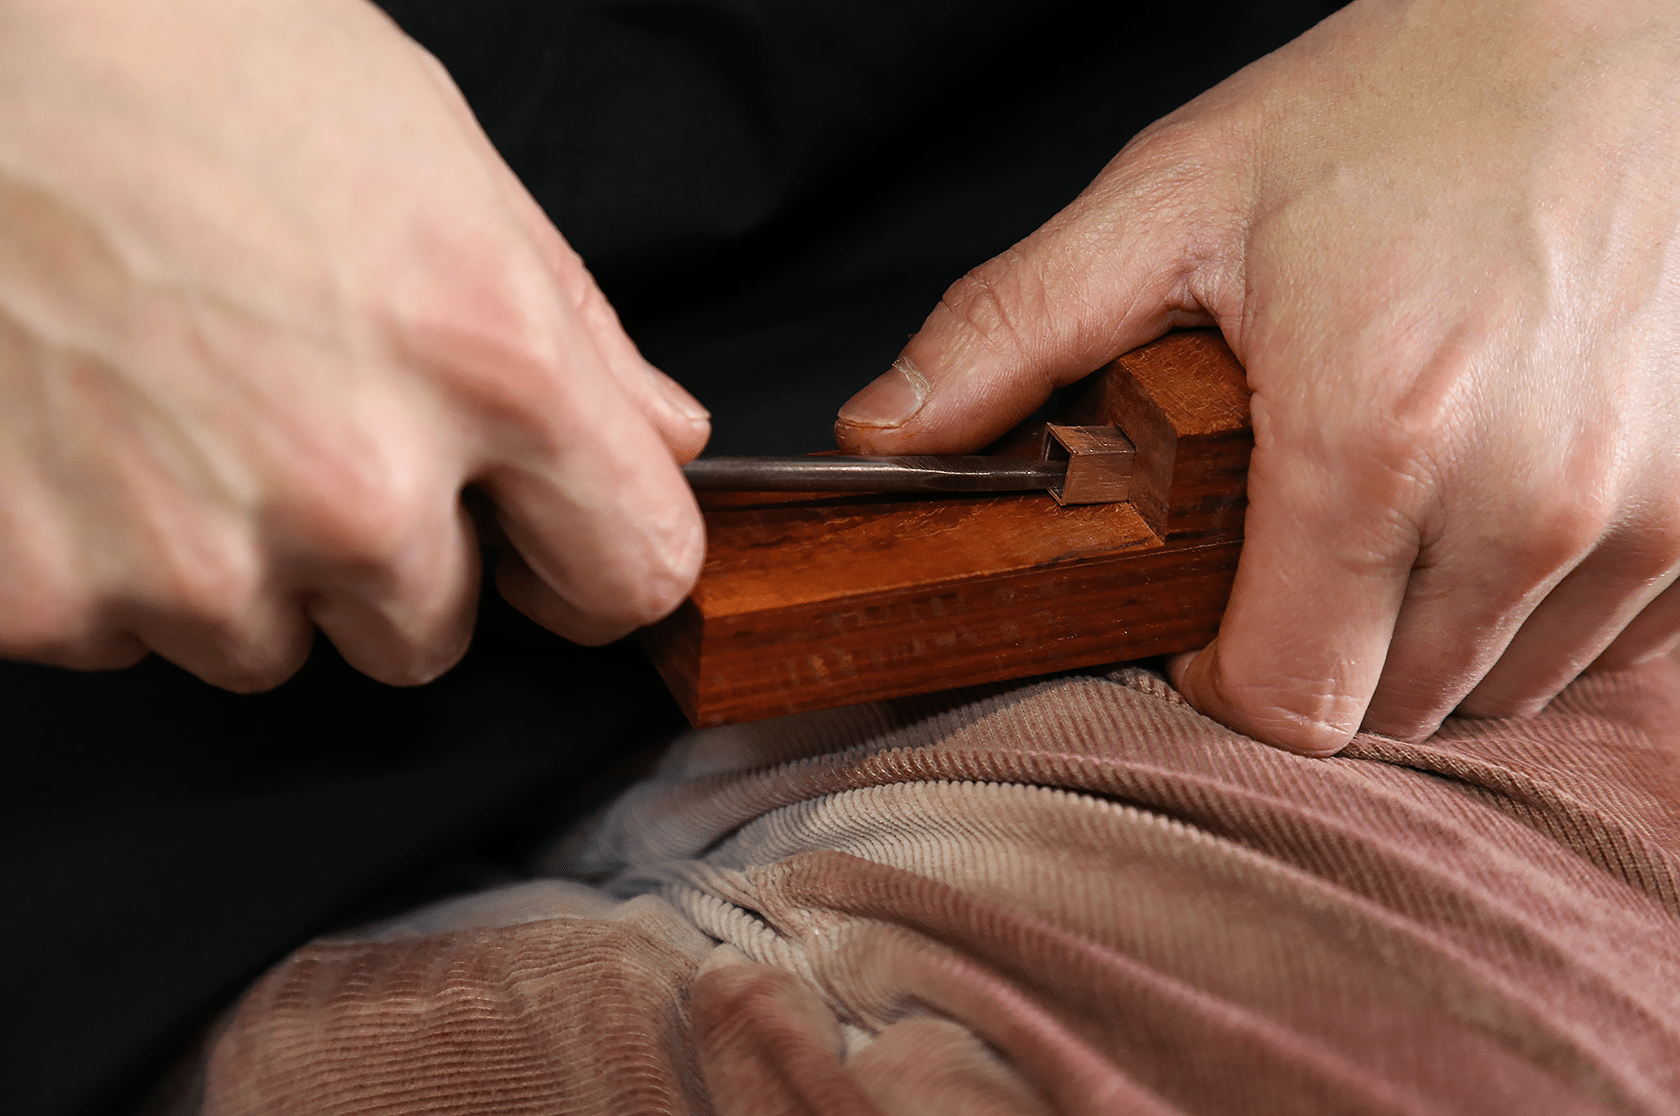
Step6. Shamisen neck - “Tenjin” making
Make special tenons called “Yagen” in the Tenjin (part where tuning pegs “Itomaki” are attached) at a shamisen neck. Making tenons called “Yagen” will prevent the Tenjin from coming off.
6/19
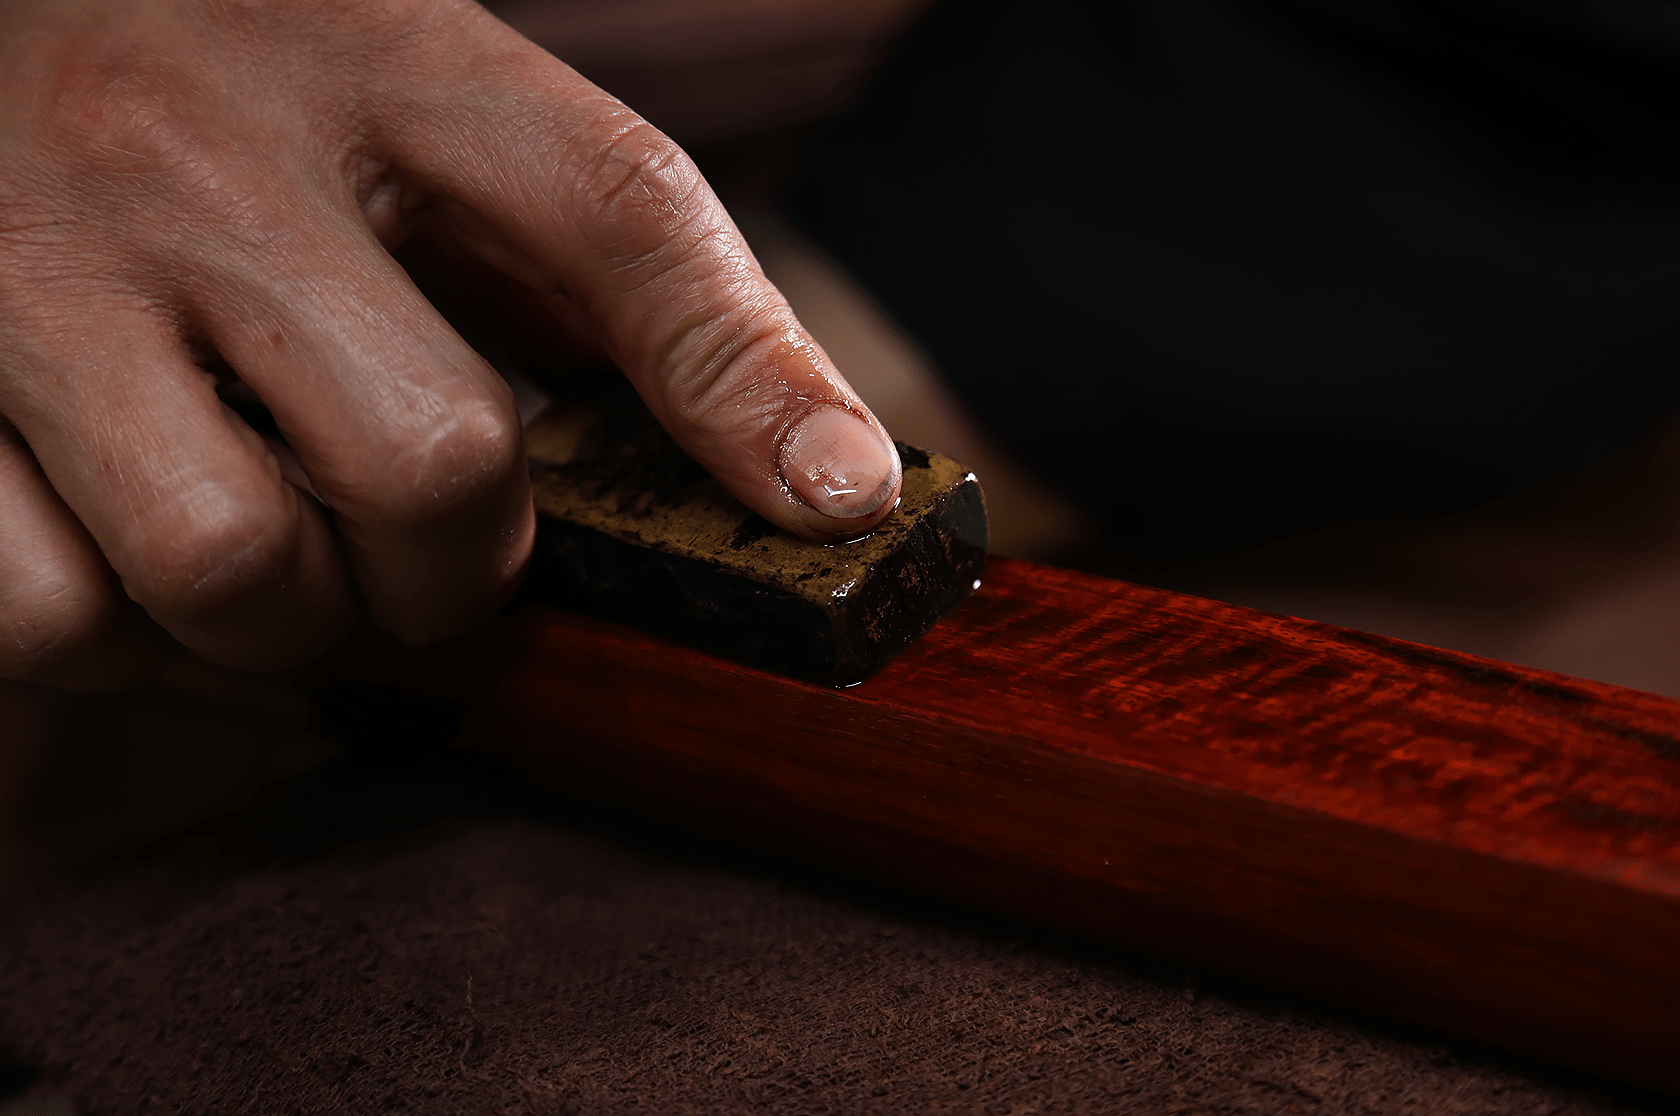
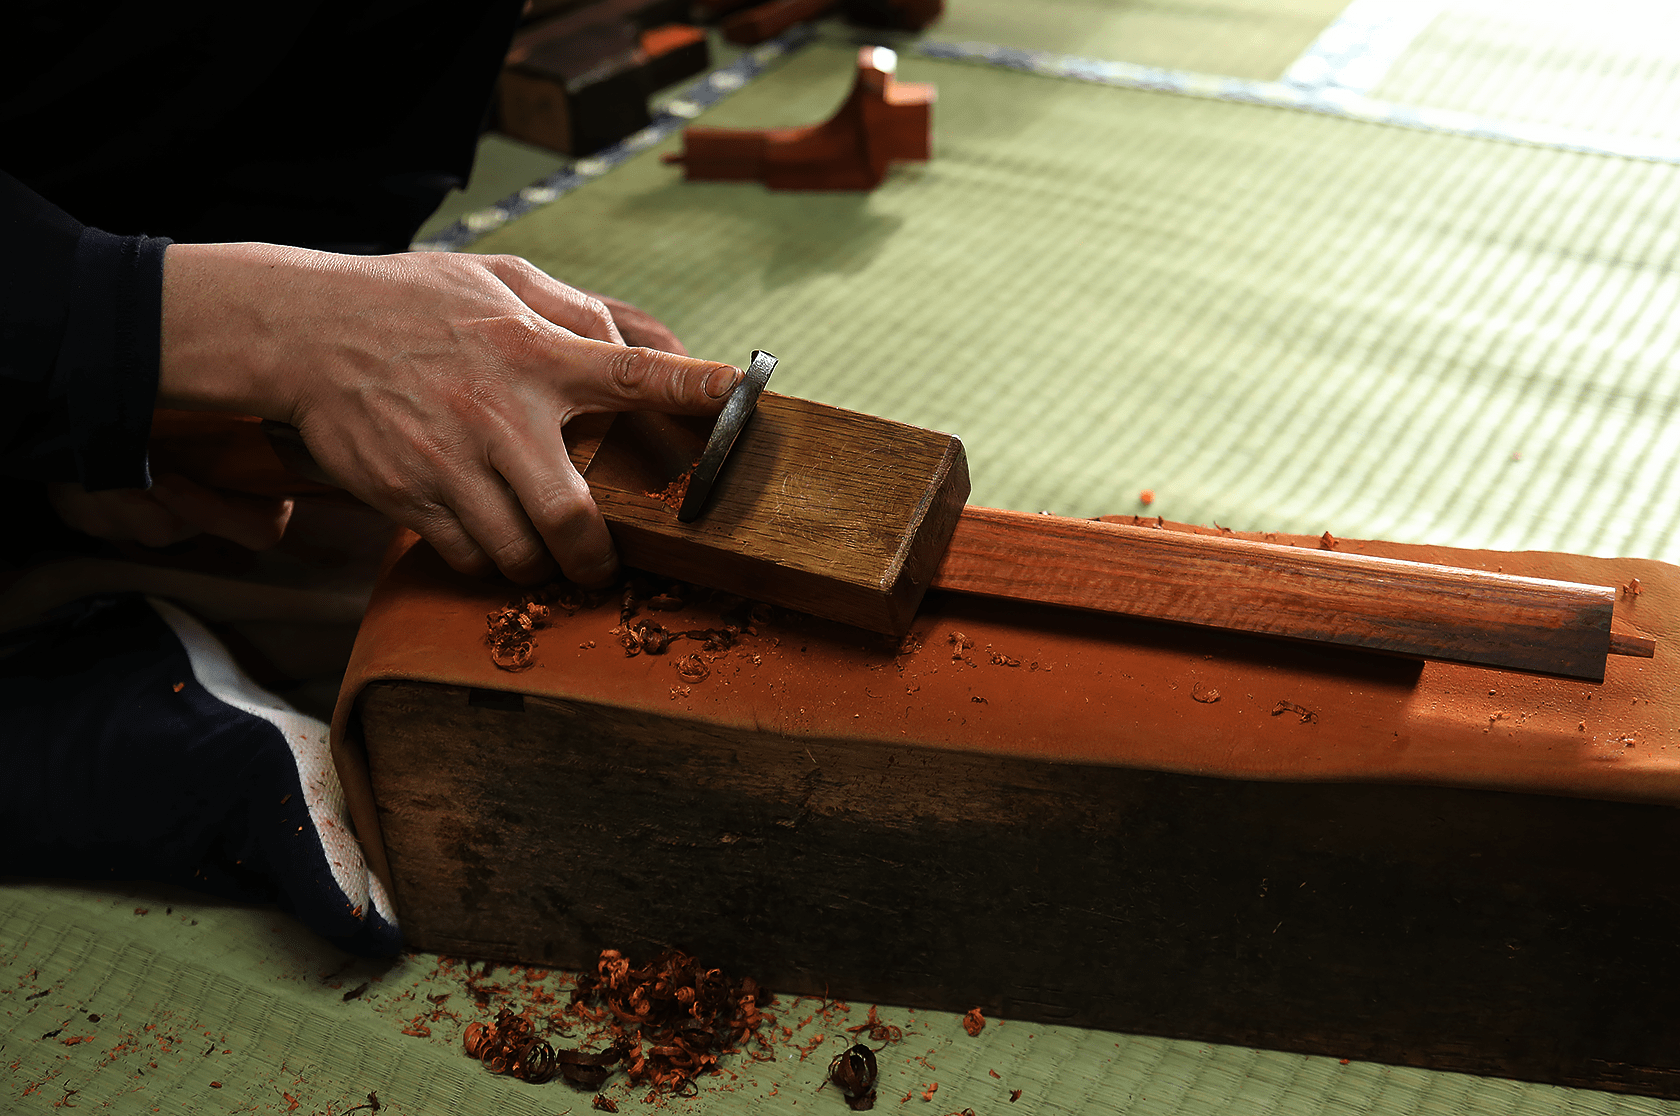
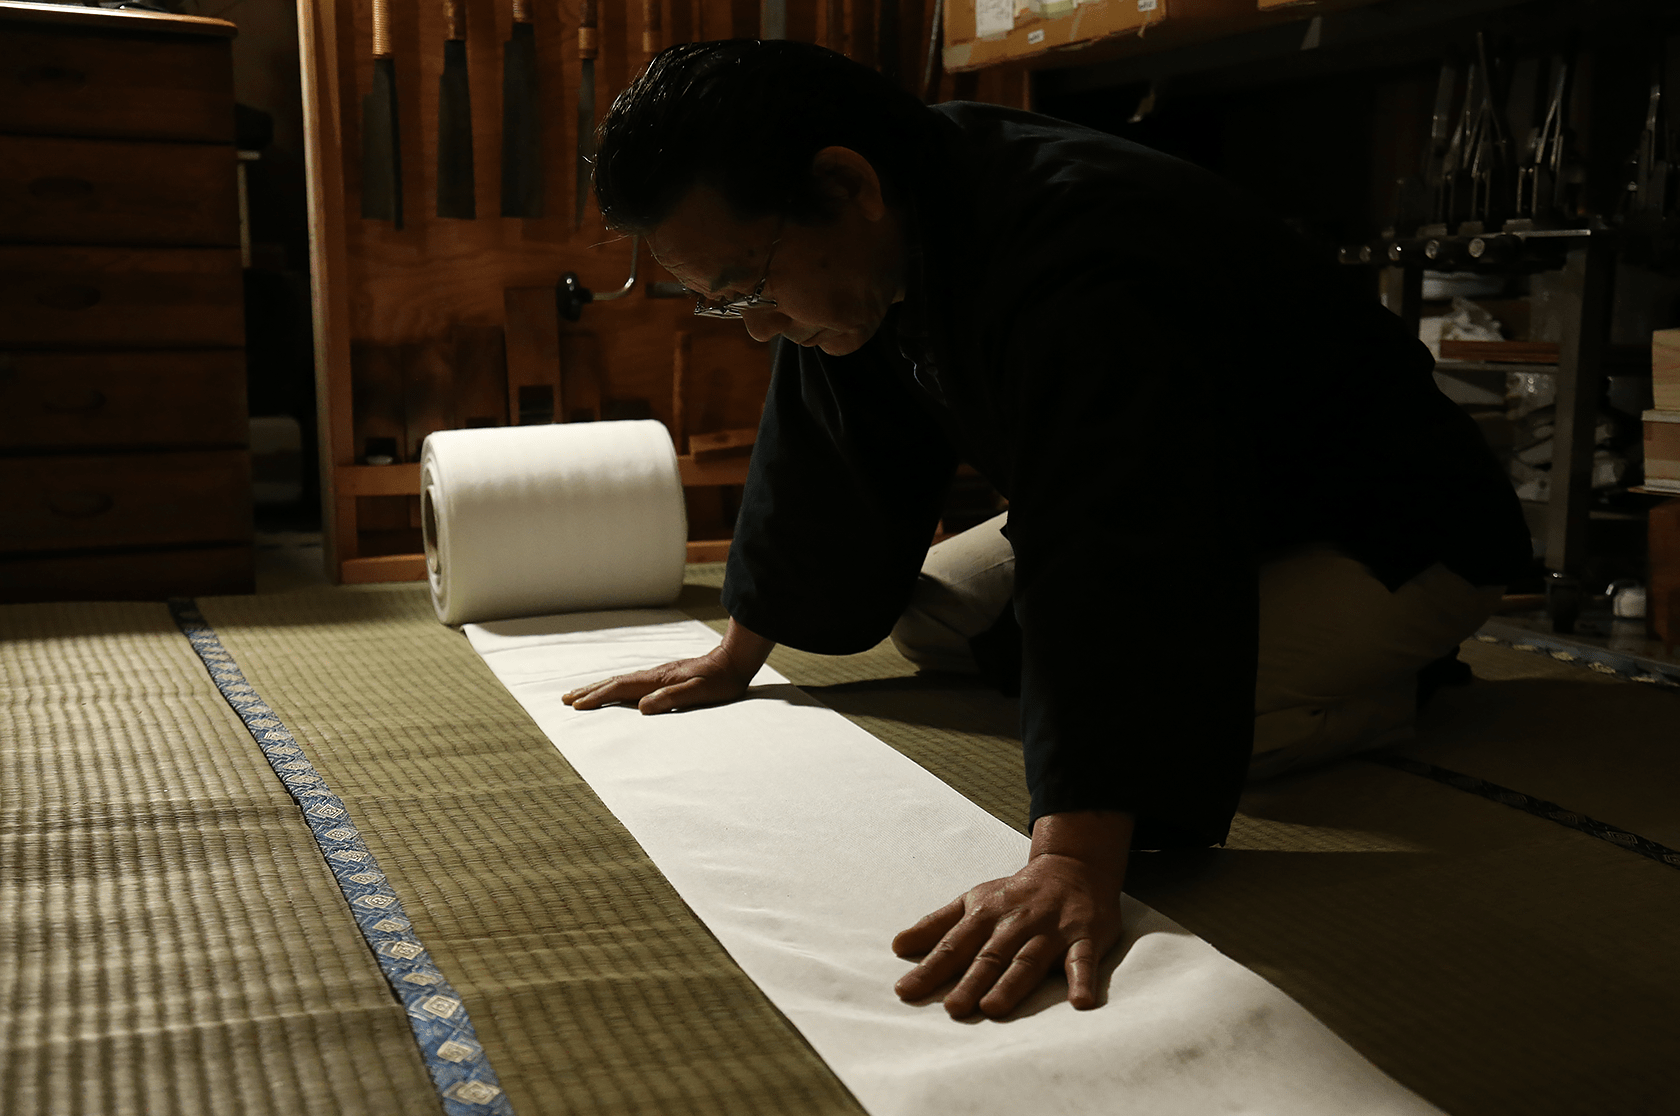
Step7. Shamisen neck - Polishing and finishing
Remove scratches on the neck of the shamisen by polishing with a coarse sandpaper and then a fine sandpaper, after planing the uneven parts of the wood. Remove small scratches using a very fine whetstone at the end. Finally, polish with hands until it gets shiny and glossy. The hands of a skilled shamisen craftsman have special skin, being hardened by polishing the neck of the shamisen for a long time.
7/19
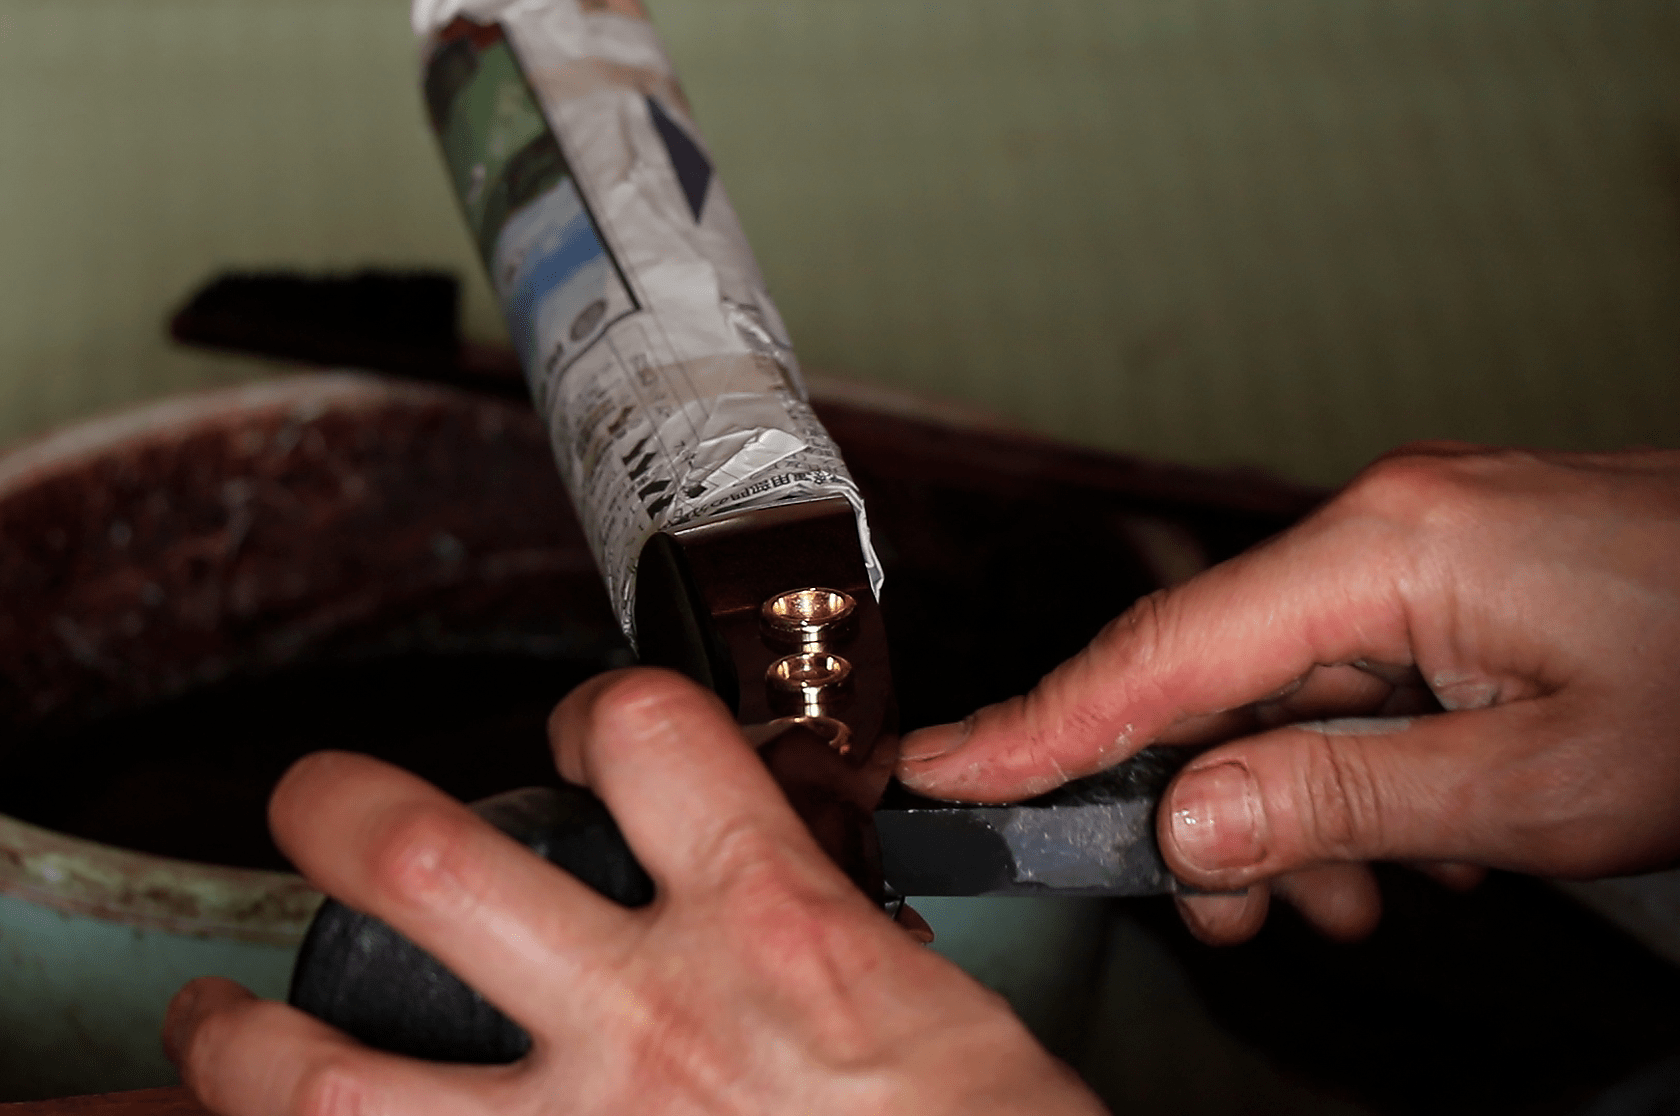
Step8. Shamisen neck - “Itogura” polishing
Insert round fittings called “Fukurin” into parts where “Itomaki” tuning pegs are inserted. A shamisen craftsman will position fittings, calculating the subtle angles of Itomaki. Meticulous attention is required as the Itomaki may not stop if the angles are different.
8/19

Step9. Shamisen neck - Itomaki insertion and adjustment
Insert and adjust Itomaki tuning pegs in the order of micro with skilled craftsmanship, so that they can be turned by a weak person and will not be loosened during playing the shamisen.
9/19
Step10. Ripple - Unrolling (“Obi-nagashi”) /cutting
Cut an artificial shamisen skin Ripple carefully.
10/19
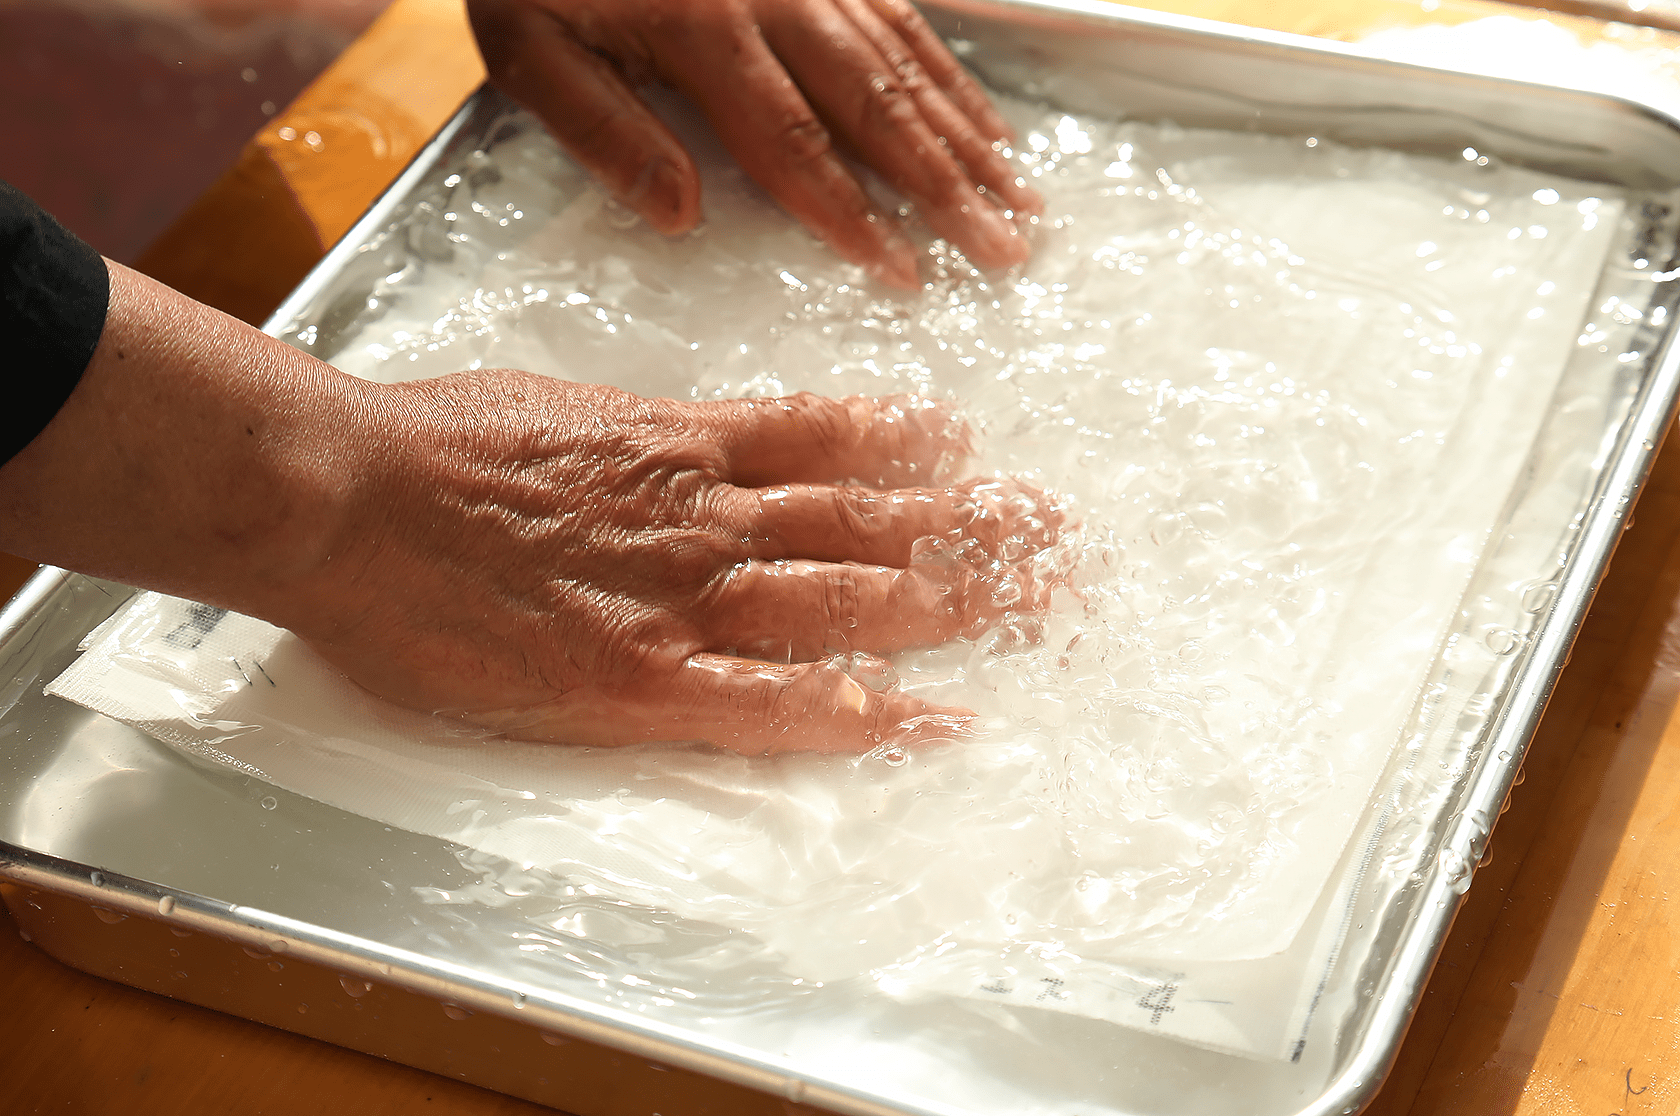
Step11. Ripple - Rinsing
Rinse impurities away so that the skin can transmit sound smoothly.
11/19
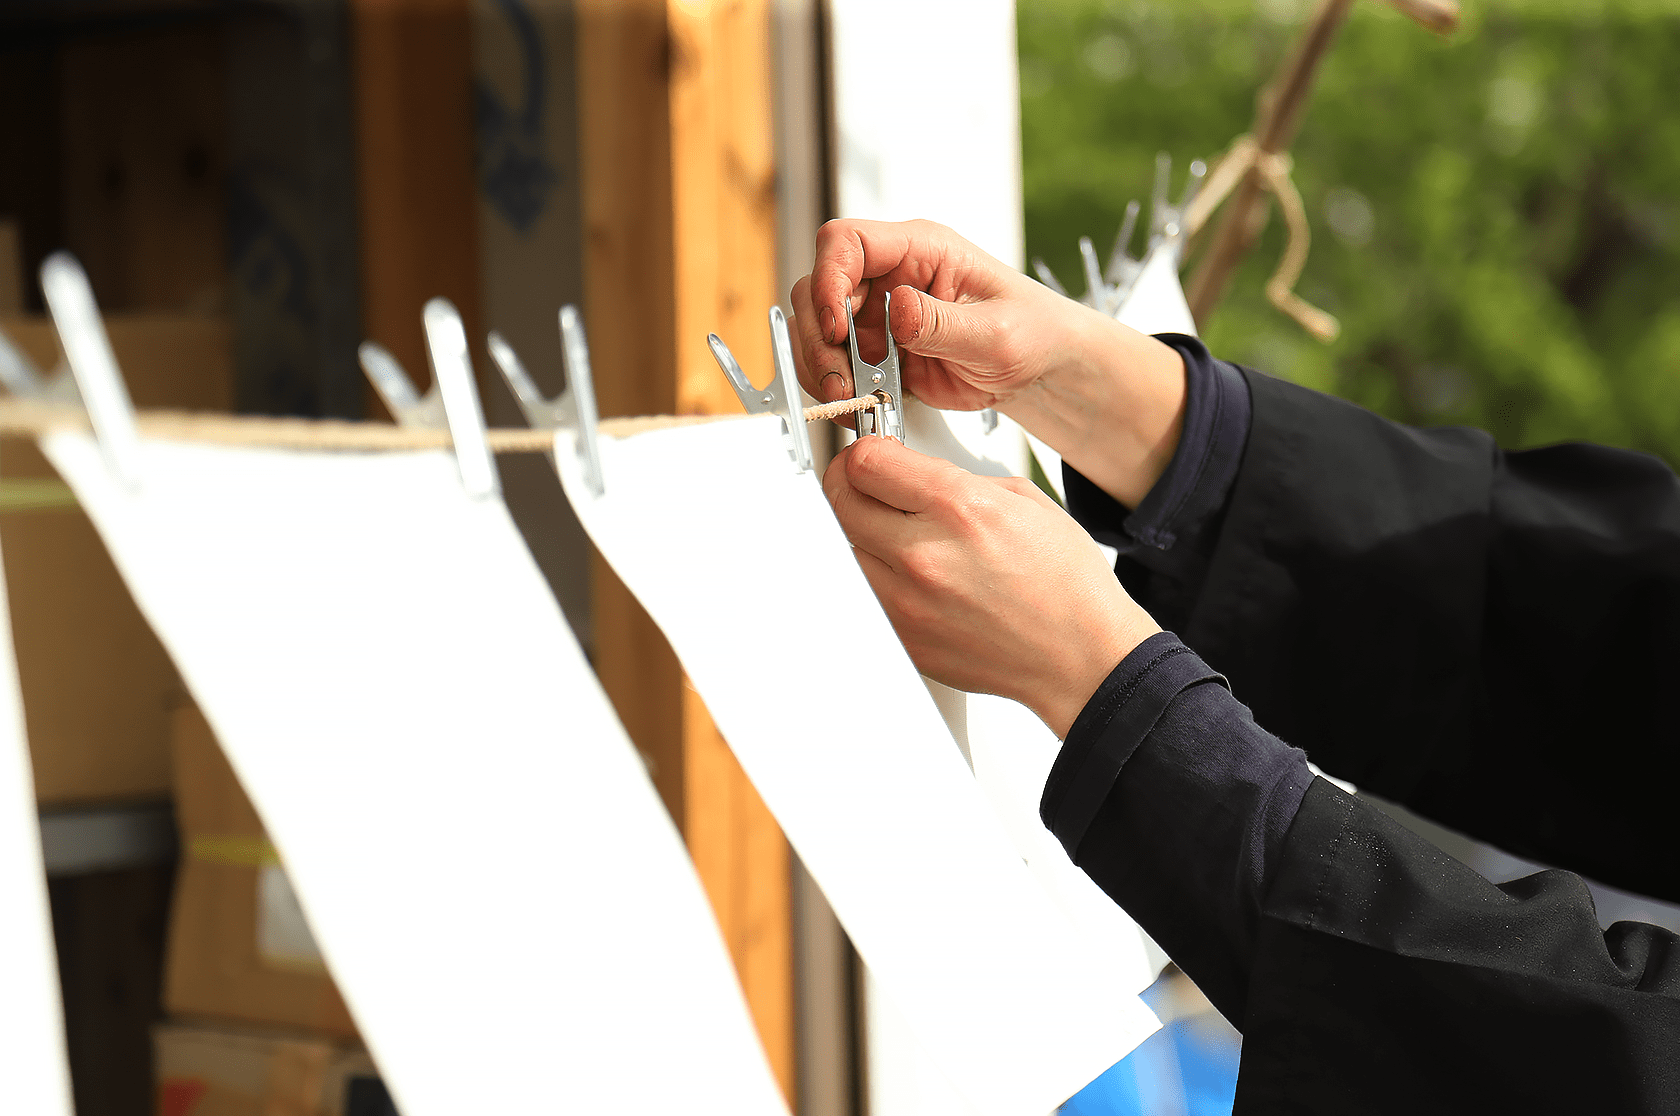
Step12. Ripple - Sun drying
Dry an artificial shamisen skin Ripple in the sun carefully.
12/19
Step13. Ripple attachment - Setting to attaching machine
Set an artificial shamisen skin Ripple to the attaching machine carefully.
13/19
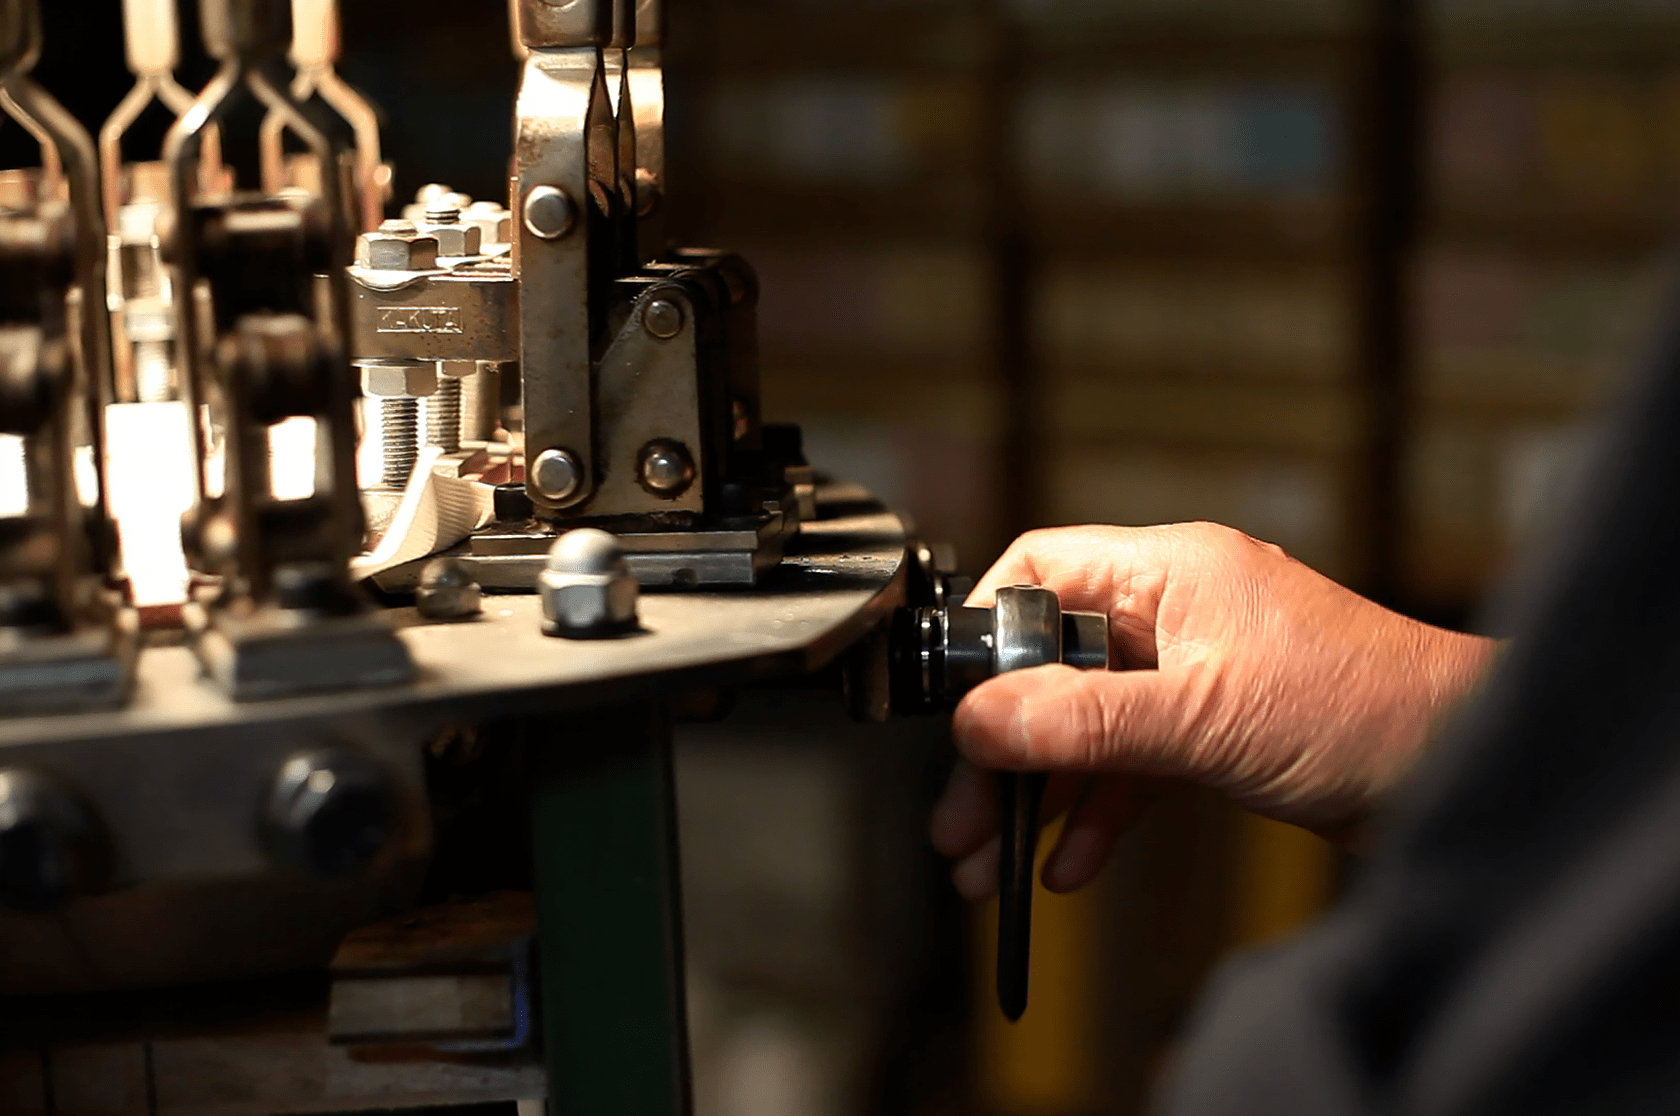
Step14. Ripple attachment - Stretching by attaching machine
Stretch an artificial shamisen skin Ripple using the attaching machine. Make delicate adjustments to the tensile strength in order to fine-tune the tone produced by the Ripple skin.
14/19
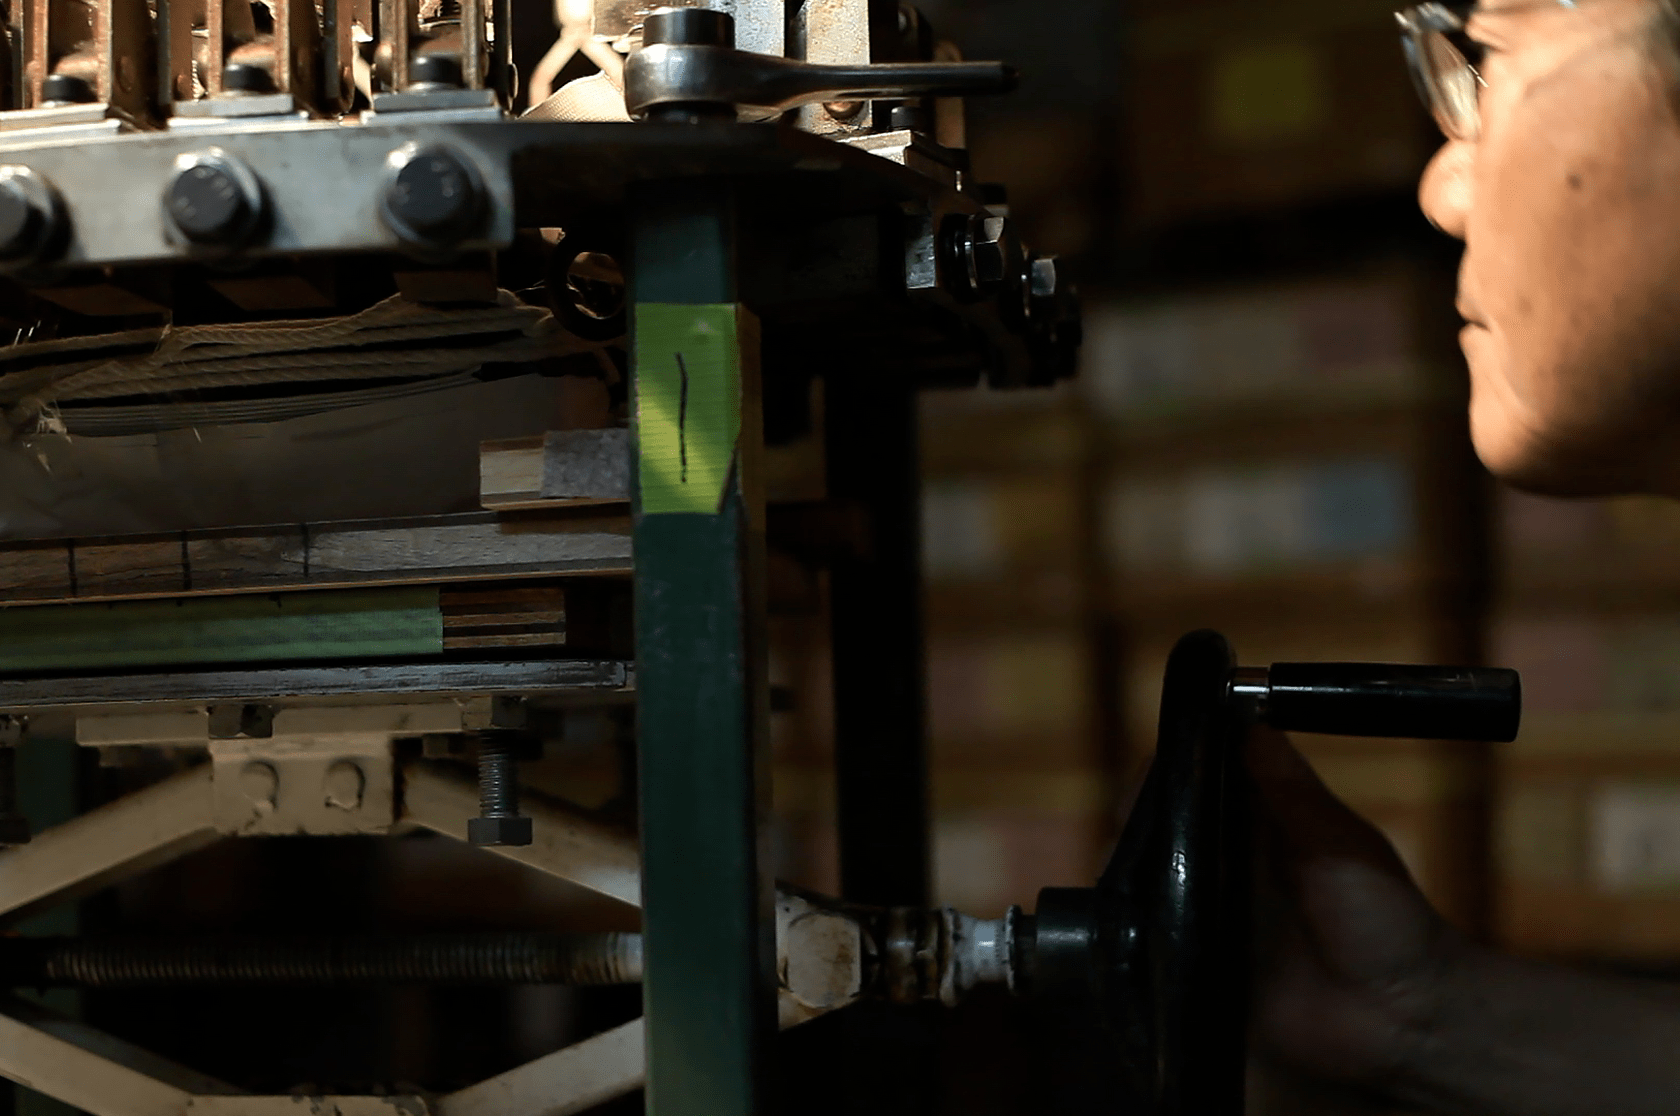
Step15. Ripple attaching machine - Gluing skin to body “Dou”
Apply glue to the rim of the shamisen body, and carefully apply the artificial shamisen skin Ripple stretched by the attaching machine to the shamisen body (“Dou”). Failure is not allowed in this work.
15/19

Step16. Ripple attaching machine - Body “Dou” removal
Remove the body with the artificial shamisen skin Ripple attached from the attaching machine. This work should be done carefully as the body must be removed after the glue is completely dry.
16/19
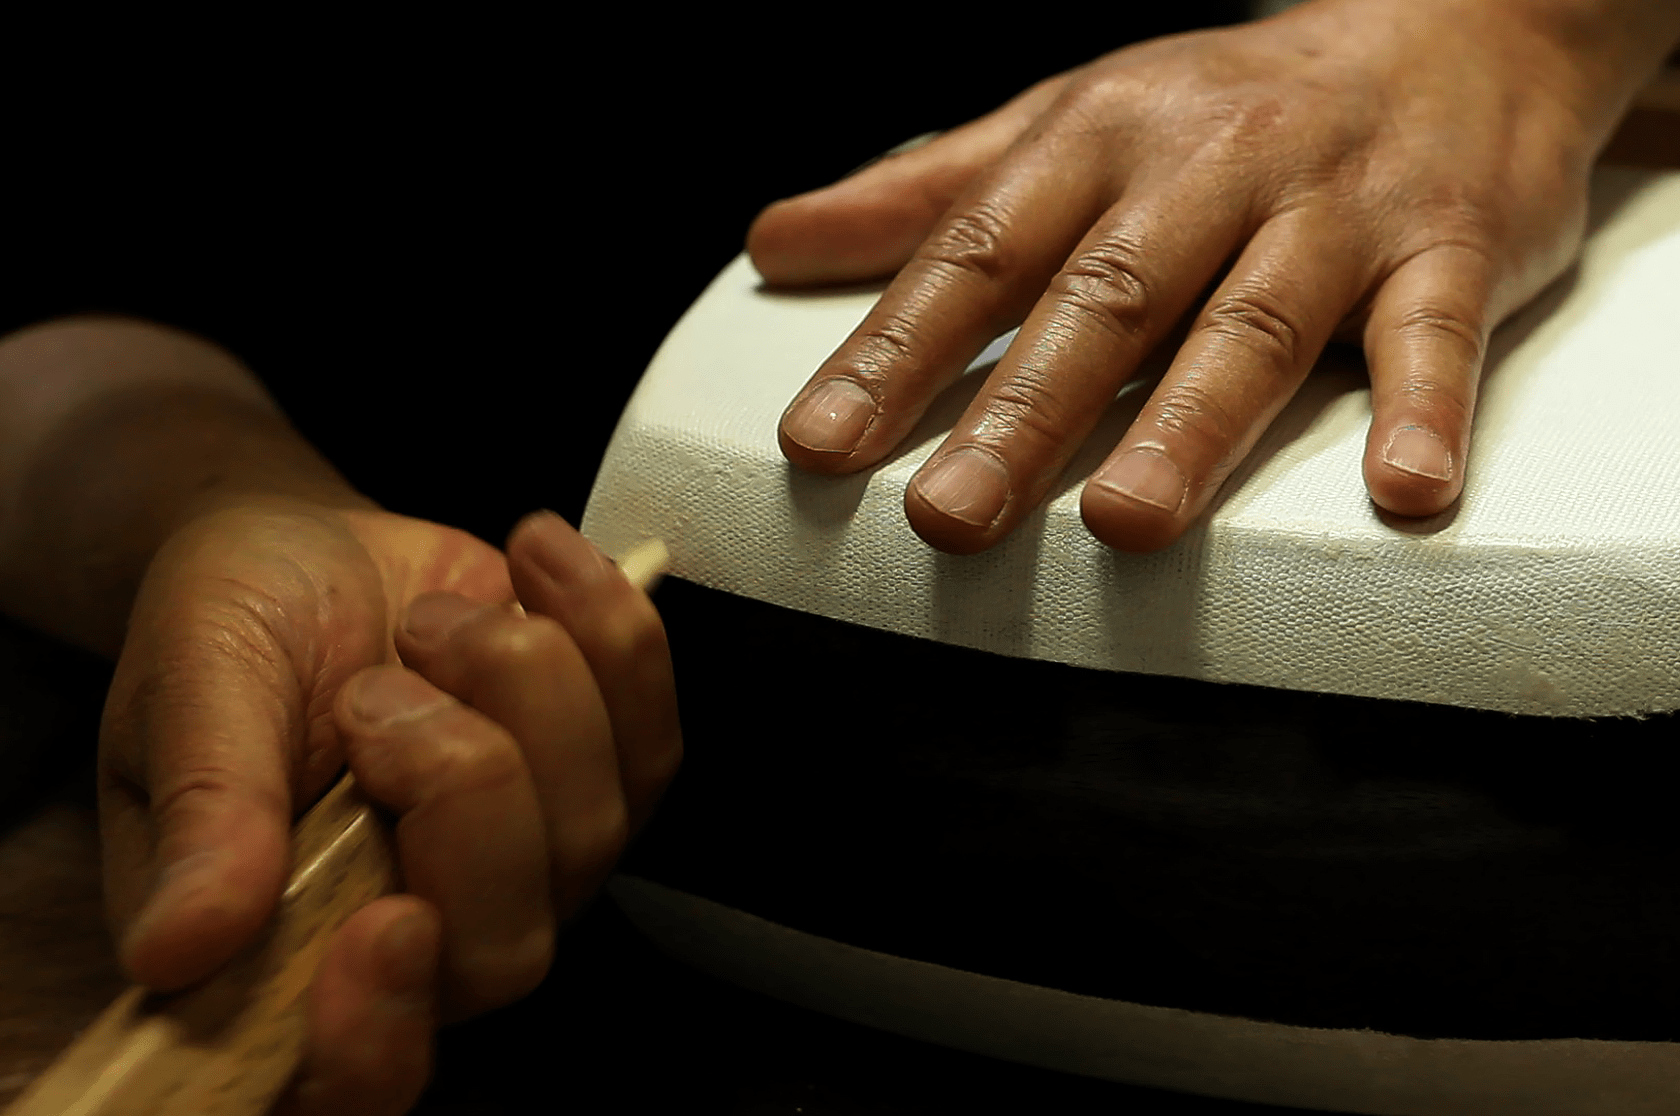
Step17. Ripple - Body “Dou” rim gluing
Glue the Ripple on the outside of the body. This work is also called a “Mimioshi”. This work must be done carefully.
17/19
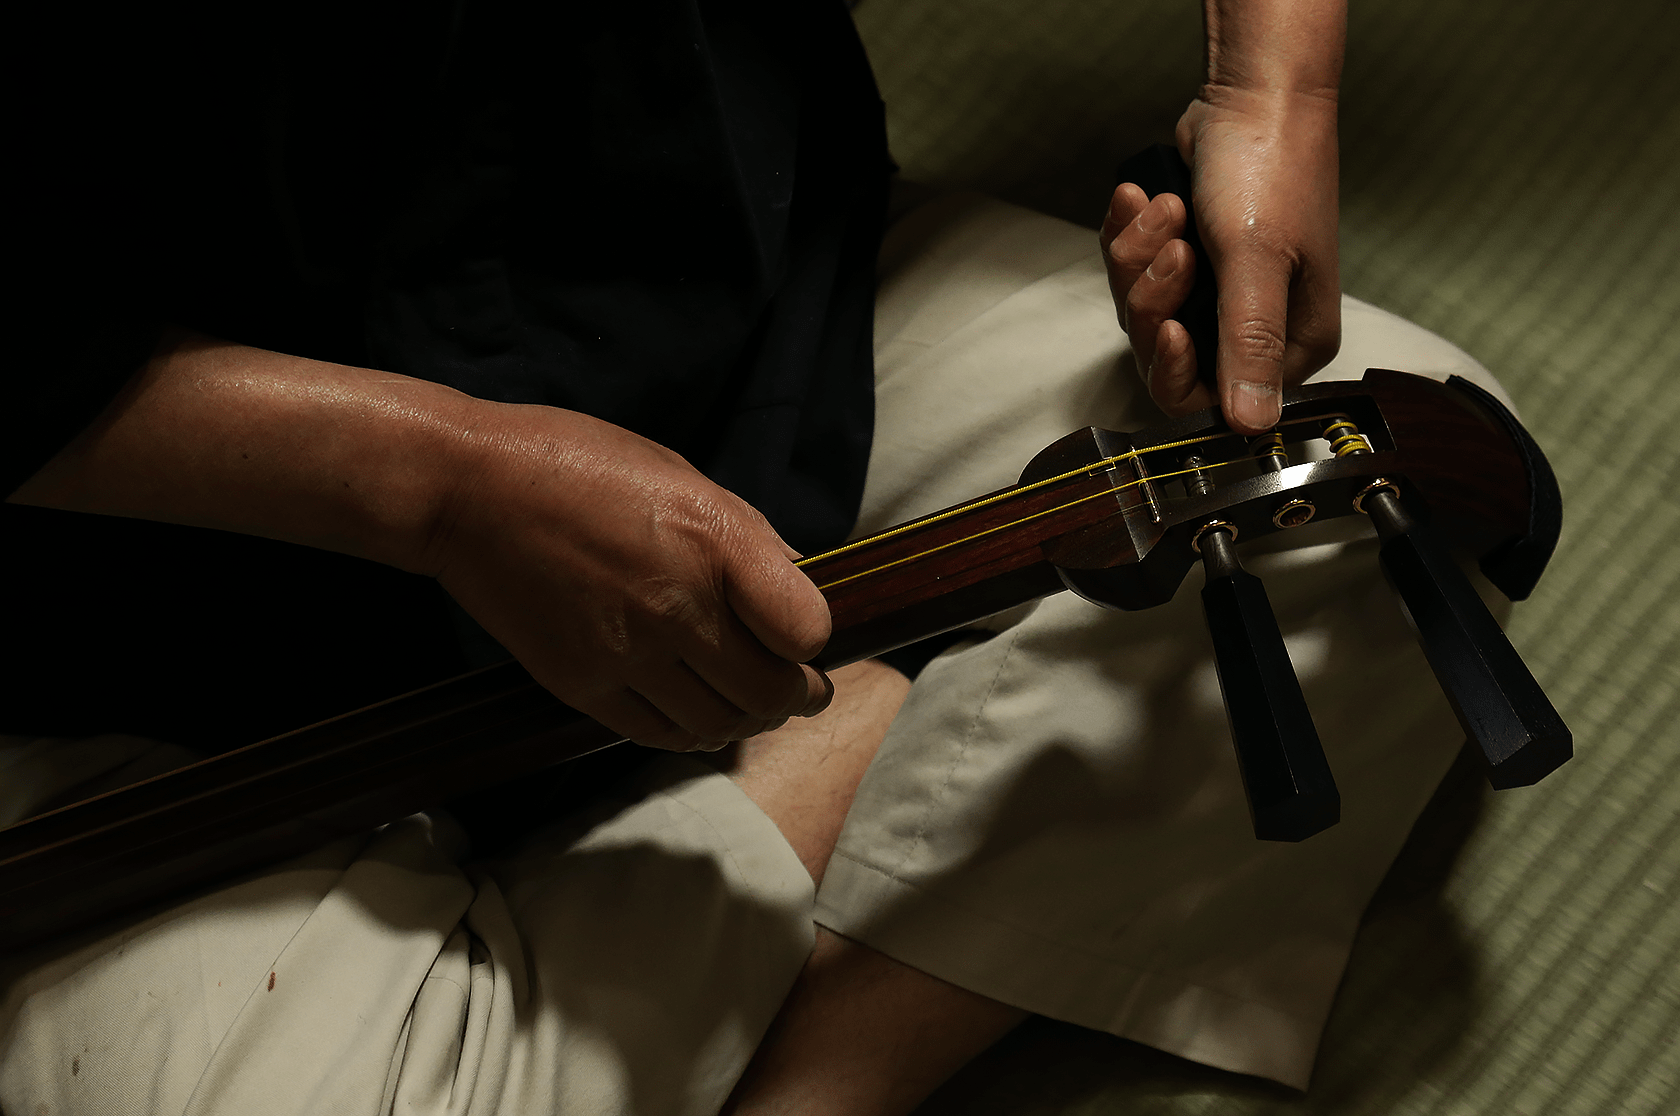
Step18. Assembly of shamisen
GConnect the body and the neck of the shamisen, attach a body protector (“Doukake”), and stretch the strings.
18/19
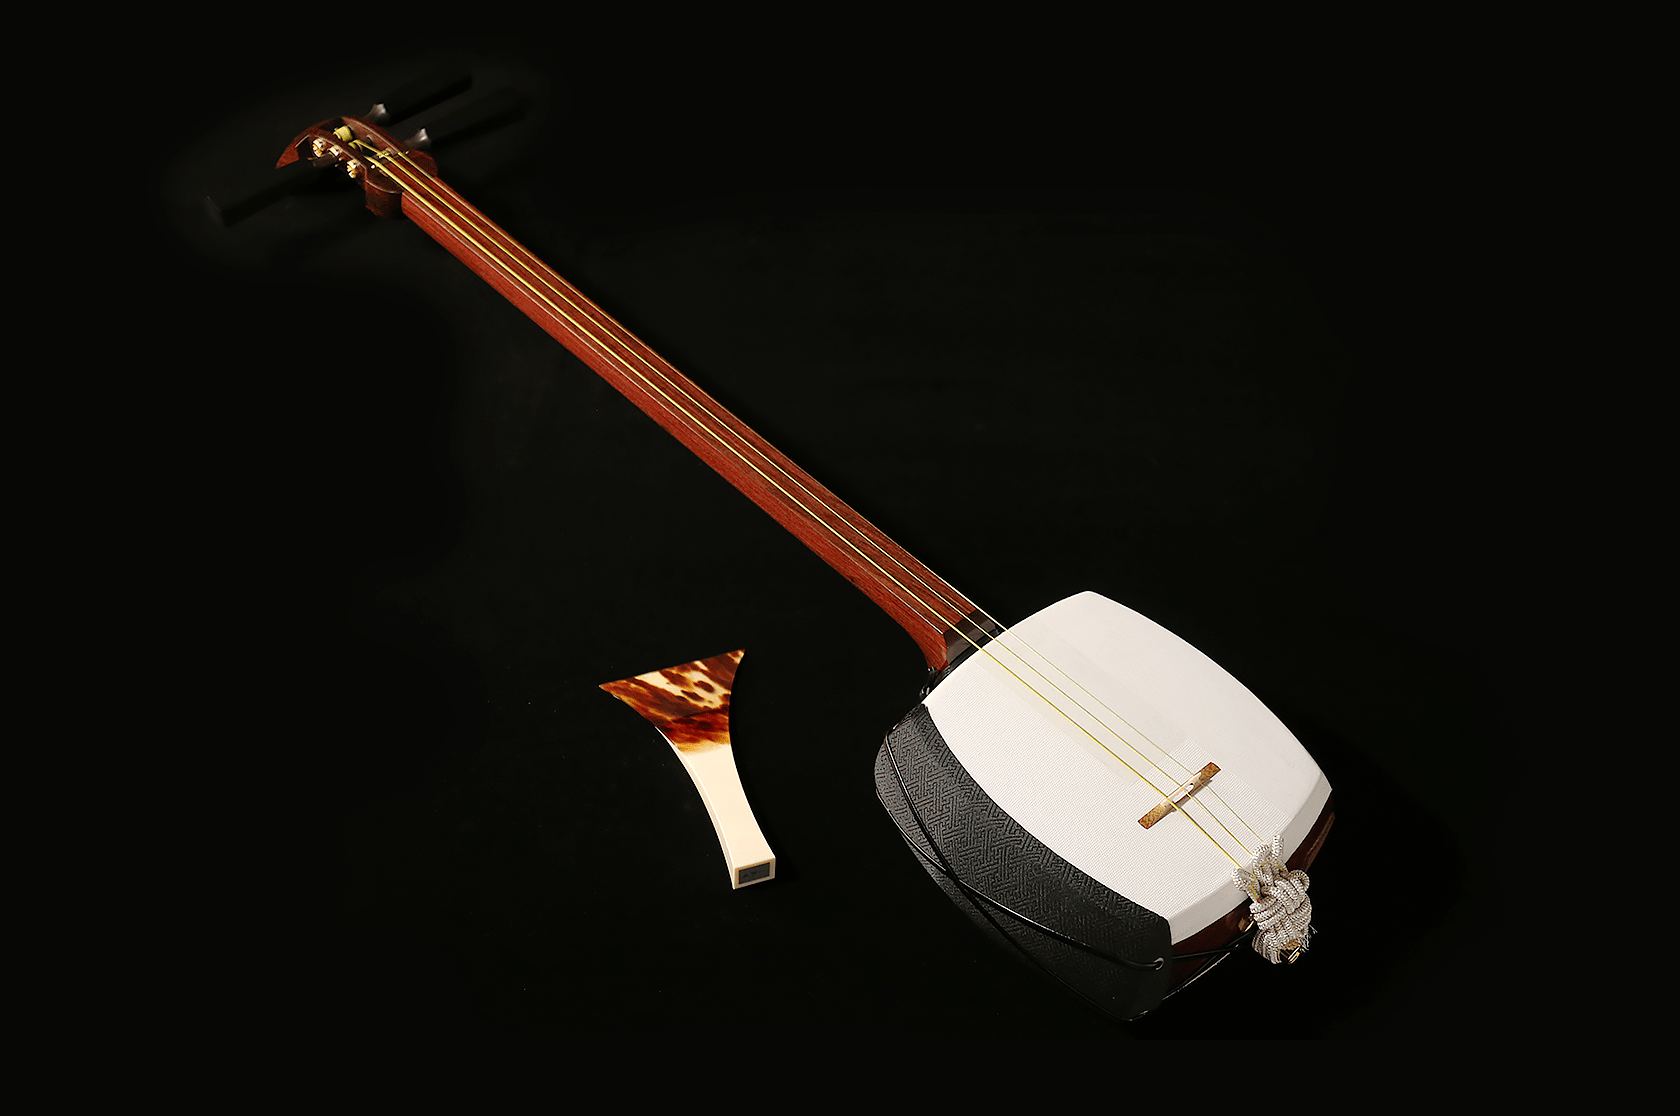
Step19. Completion of shamisen
Completion of the handmade shamisen of Komatsuya. As described above, the Komatsuya’s shamisen is made with devotion by the hands of craftsmen for the neck and skin attachment, through dozens of manufacturing processes.
19/19